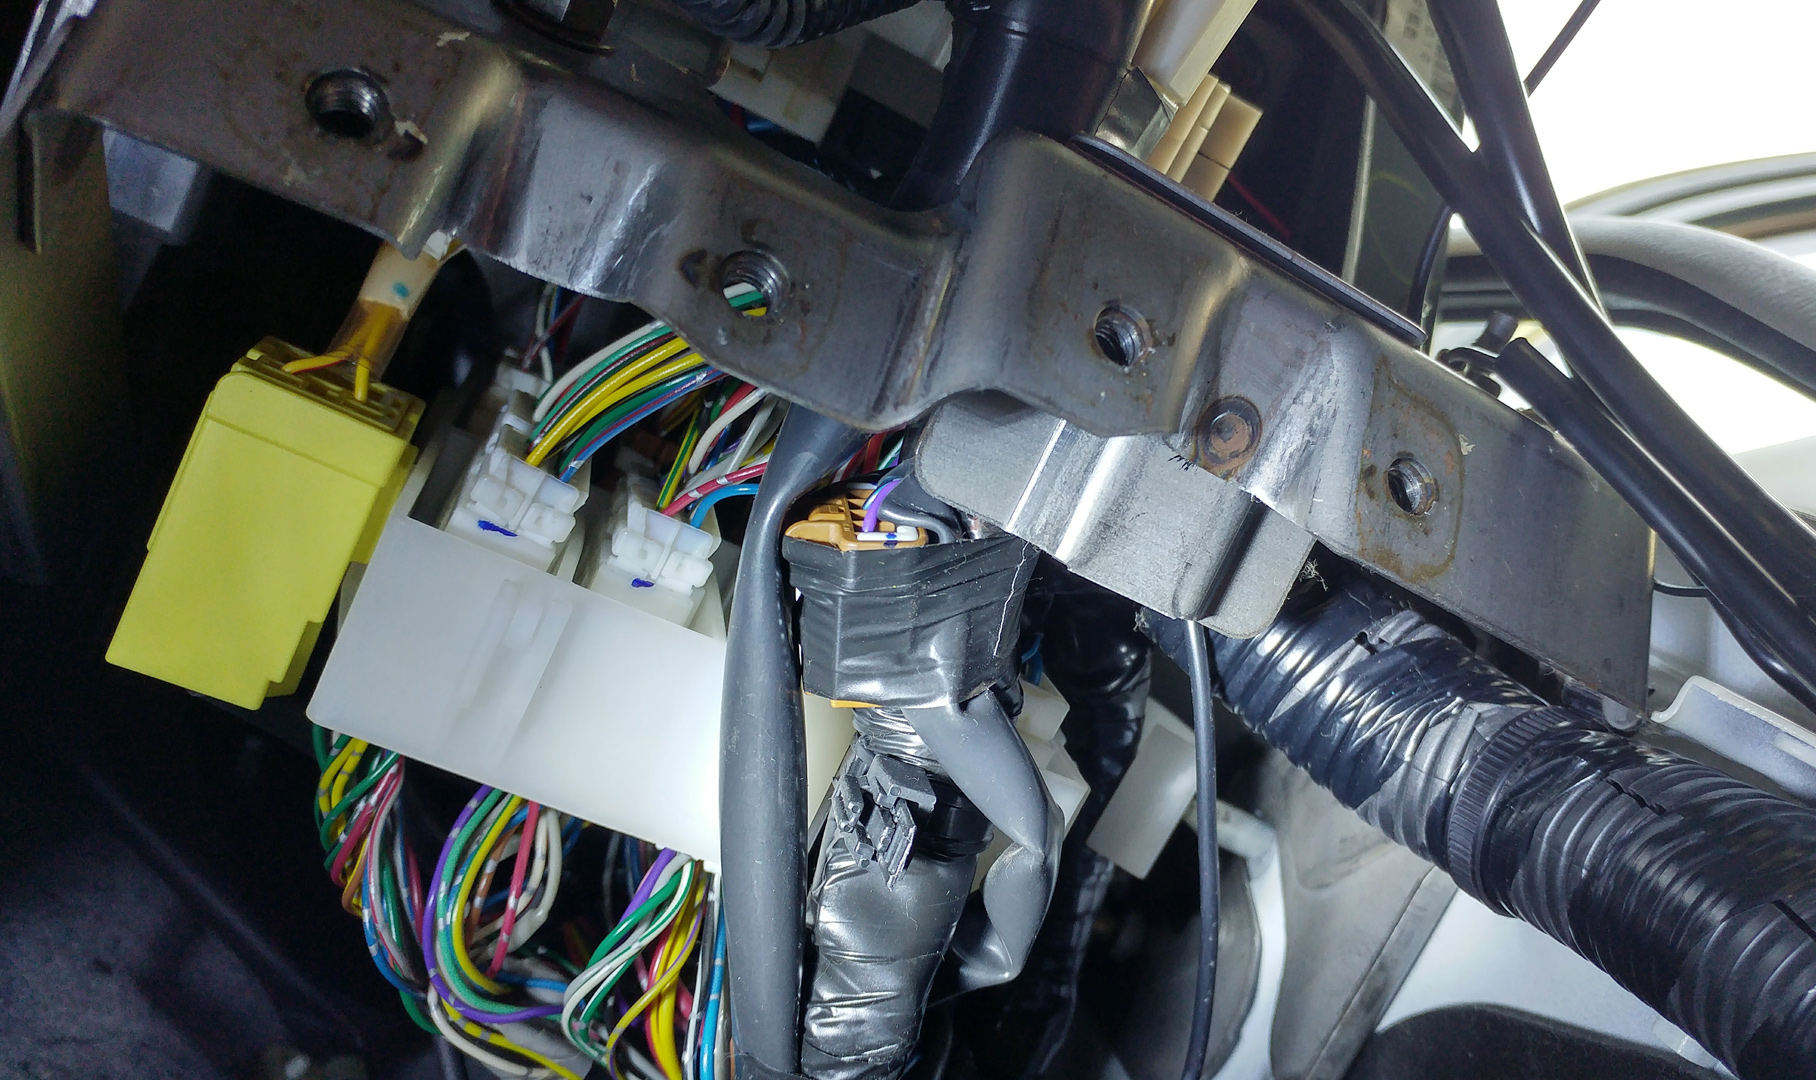
Where was I? Oh yes, the speed signal wire, or more specifically where the heck is it?! Well it turns out it was right next to me all along, but it was mostly hidden by black electrical tape. It was right underneath the fuse box to the right of the steering column, just underneath the OBD connector. You can see the four bolts that hold the petrol flap and bonnet release catches. The wire is connected to the brown four-pin plug:

When viewed from the rear the speed signal wire is third from the left, the blue one with a black trace.

I cut the black sleeve back so I could tap into the wire and solder on the orange wire that connects to the Pivot’s control box.


With the orange wire soldered on, I then wrapped it securely with black electrical tape and fastened the connector back where it was before.
So on to the throttle harness. Dead easy to fit after yesterday’s dry run. Thinking about it I’m not sure I secured the connectors with a tie wrap so I need to go in again and do that. I don’t want that coming undone!
Next I decided that as i had all of the wiring in roughly the right place I’d get the control box mounted. This box is probably about 70mm x 50mm x 15mm and fits in just nicely behind the driver’s kick panel, which is ideal as most of the wiring is in this area and the long lead from the Pivot display unit easily reaches from the centre screen. It’s fixed in place with the supplied double-sided tape.

The last part of installation was to connect the white plugs to the control unit and connect the red and grey wires to the brake harness. This is where the fun began.
In part one I mention that, correctly, the white wire is constant 12v. However, I was wrong about the yellow wire being the one I needed for the switched brake signal, except at that point I didn’t know that so I put everything back together and went through the setup routine.
So setup is pretty easy, taking you through configuring the unit so that it knows the throttle voltage at 0% and 100% pedal travel. Once that’s done you need to set the speed pulse setting. For the Elgrand this needs to be set to 2.
Then it was test drive time. The instructions say to be travelling at 35-40 KM/H and press the SET button, at which point cruise control will kick in and the current speed will be held. Except for me it didn’t, instead it showed the error ‘-b-‘. This means that the grey wire to the brake harness isn’t correct. Hmmm.
So back round the block to home, lower dash panel, fusebox cover and kick panel removed. This time I connected the grey wire to the blue wire as in the other thread I’d seen. Another test drive…and still getting ‘-b-‘ when activating cruise. Sigh.
Repeat the above steps but connecting the grey wire to the black wire. Ok, for some reason I’d discounted the black wire (I perhaps assumed it was an earth as Nissan like to use black for earth) and by now somewhat pissed at having to remove the dash again I got the multi-meter out and checked the black wire for 12v when pressing the brake pedal. Bingo! 12v as required. Dash back together.
In summary then: white = constant 12v, black = switched 12v (On my 2003 E51 Rider at least).

And now for another test drive. I got up to the recommended speed and pressed SET…and I had cruise control! Woohoo!
The cruise control works really well, staying within 1mph on fairly flat roads. You can feel it modulating the throttle to some degree but it’s nice and smooth overall. I’ve yet to see how it handles hills.

During my short test drive I also put it into one for the seven Sport modes, SP3, and it felt completely different to the Elgrand’s built in Power mode. So much sharper. I didn’t play with the five Eco modes so I’ll leave that for another time.
So far (after about 10 miles) I’m really impressed with the system. It’s well built with all of the plastics feeling of a high quality and it comes with everything you need to install it, even down to an LED on a wire to test for 12v if you don’t have a meter. The cruise works extremely well, as does Sport mode, and you can even set the rate of change when returning to the set cruise speed (set higher for small cars, lower for big cars). it also looks very stylish and unobtrusive in my opinion.
I’m looking forward now to a good drive with it tomorrow to see how the rest of it works.
Edit: If you need the instructions in English, or you’re just curious to see how the unit works, then here they are (PDF, 443KB).
![]()
