Today, after just a couple of weeks, my new Pivot cruise-control/throttle controller arrived. Packaging was sufficient with a couple of layers of bubble wrap around the three boxes. Everything arrived unscathed. Before it could be delivered I had to cough up £49 in customs fees. The unit cost £164 including shipping from Japan.

Inside were the following:

Here’s the unit:

I decided that although I wouldn’t have everything I needed to complete the install I might as well make a start. I’d only have a couple of hours daylight at the most, and I still hadn’t worked out where the speed signal wire can be found.
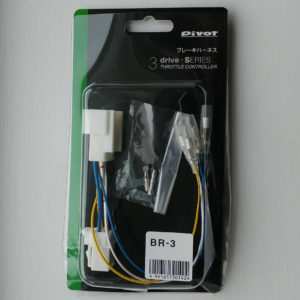
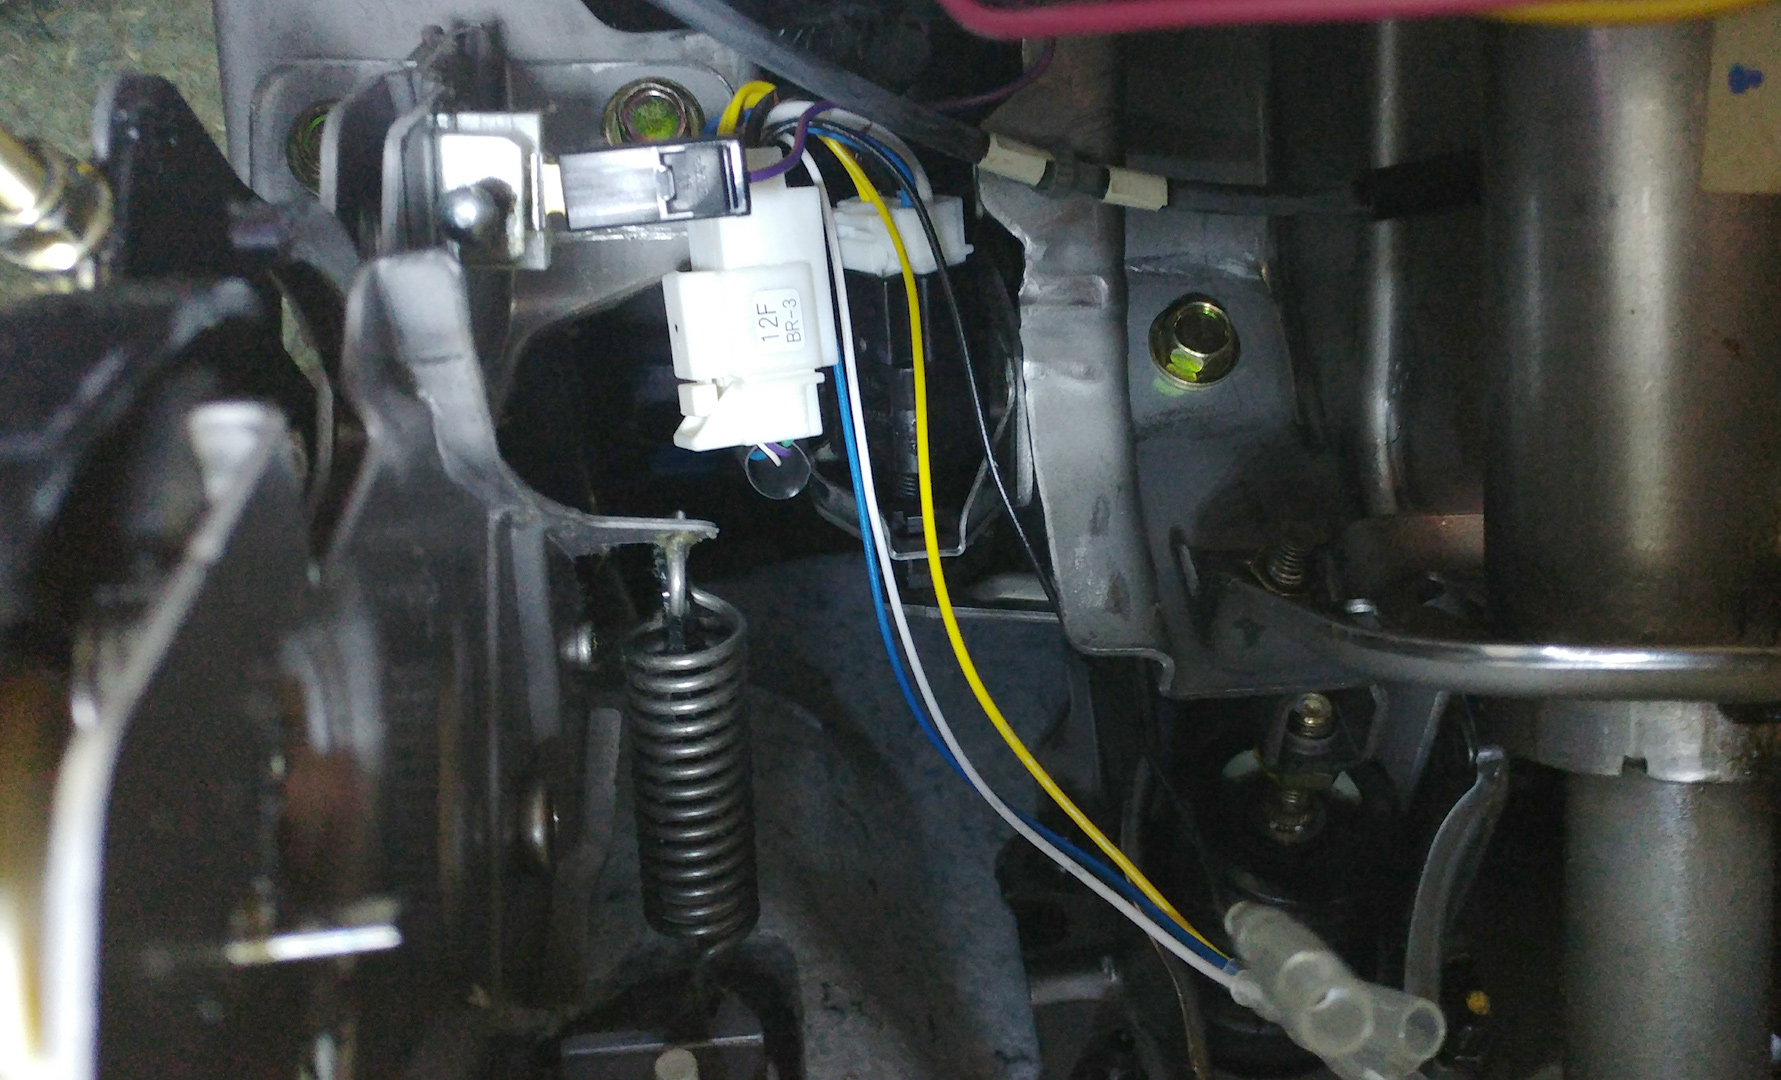
First I connected the brake harness, which is easy enough (if somewhat awkward) – unplug the existing connector and plug the harness in between the two plugs. The harness only provides a fly-lead for each of the four wires, one of which powers the unit and the other signals that the brake is pressed. I connected the separate earth wire.
I needed to find the constant 12v and the switched 12v in the brake harness. Constant was white and the only other wire with 0v but then had a voltage when the pedal was pressed was the yellow wire, but the voltage was only 0.33v. I’ve seen a similar install on another website where the blue wire is the switched one I need. More investigation is required.
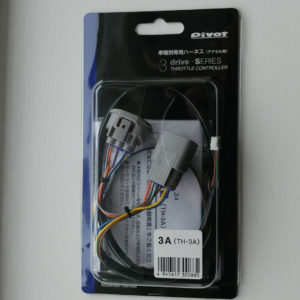
After that I connected the throttle harness, making sure to first remove the orange waterproof gasket from inside the plug. I fitted a tie-wrap to secure the two plugs together as instructed but realised later that unless I completed the install I’d have to remove the harness as several wires don’t connect up. I started it up to see a 4WD error, the check engine light, and no throttle control!

I decided to mount the unit where it could be easily seen, but wasn’t too obvious, and was in easy reach. I figured I can reach it easily when resting my wrist on my shift knob when in D.
A piece of double-sided tape secures it to the bottom of the screen bezel:

That’s as far as I’ve got so far. Left to do then:
- find the speed signal wire and solder the orange wire to it
- connect the red wire to the constant 12v in the brake harness
- connect the grey wire to the switched wire in the brake harness
- Install the throttle harness (again)
- fix the control unit to the footwell behind the kick-panel
- plug the connectors into the control unit